Our household (mainly me) recently decided to set up a reading corner in our bedroom, a cozy one-person couch with a blanket, and a foot massager. But we’ll need an extra floor lamp there because, otherwise it’s a bit too dark to read in that nook.
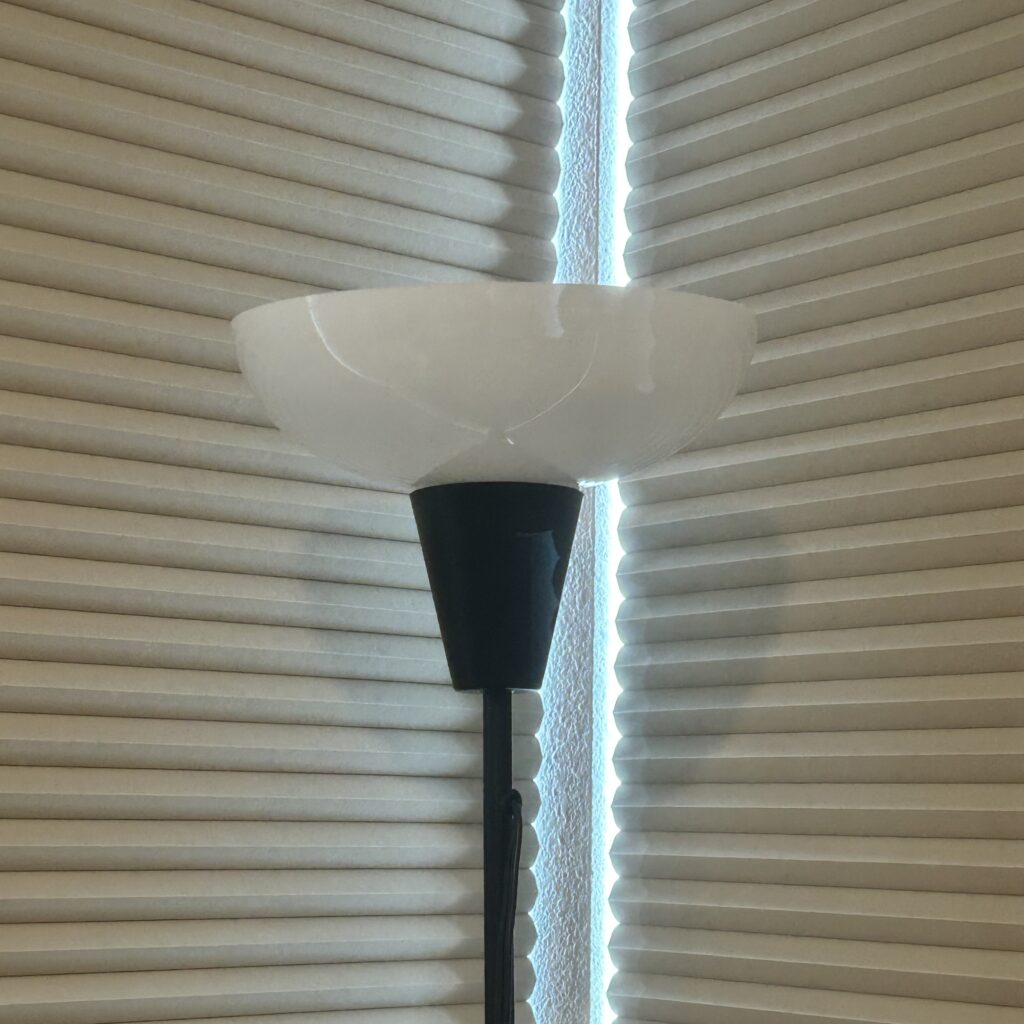
This is the floor lamp we were gifted by our neighbor with its standard-issue lampshade.
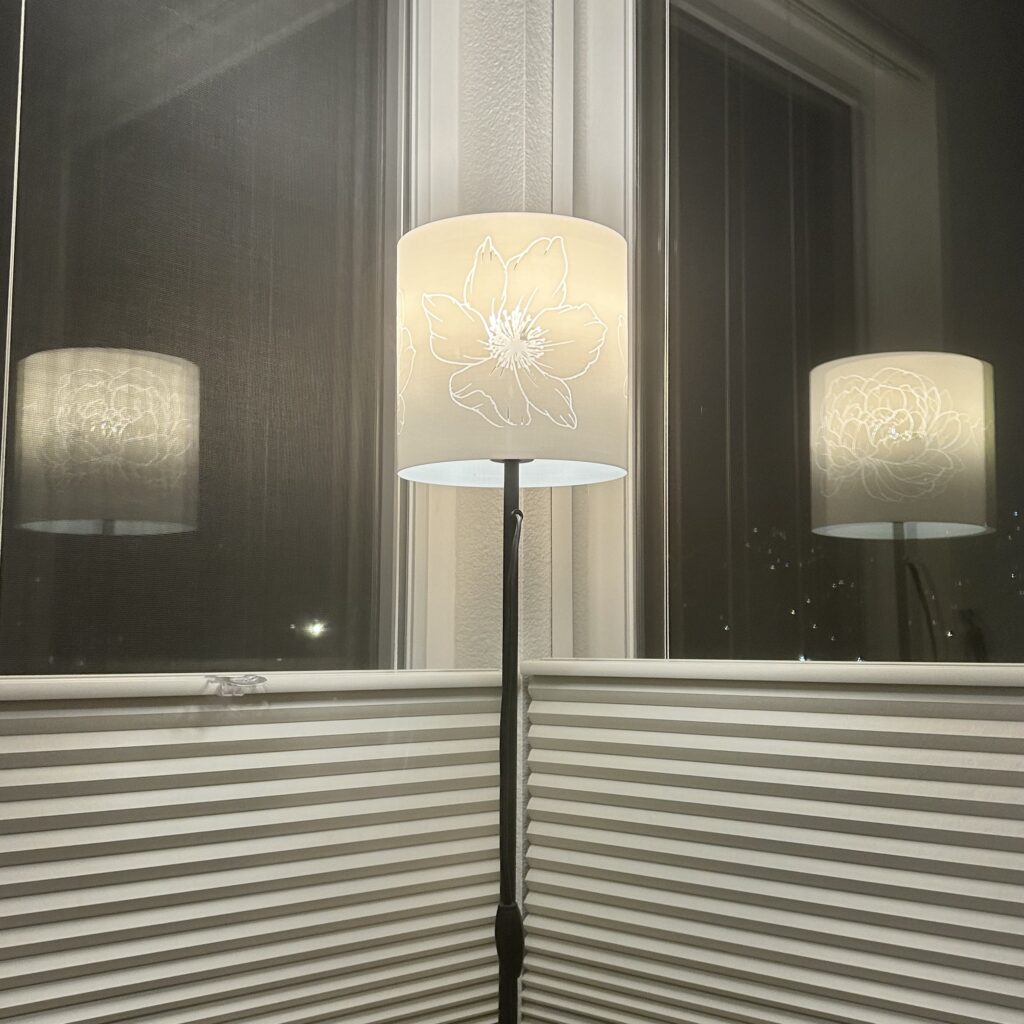
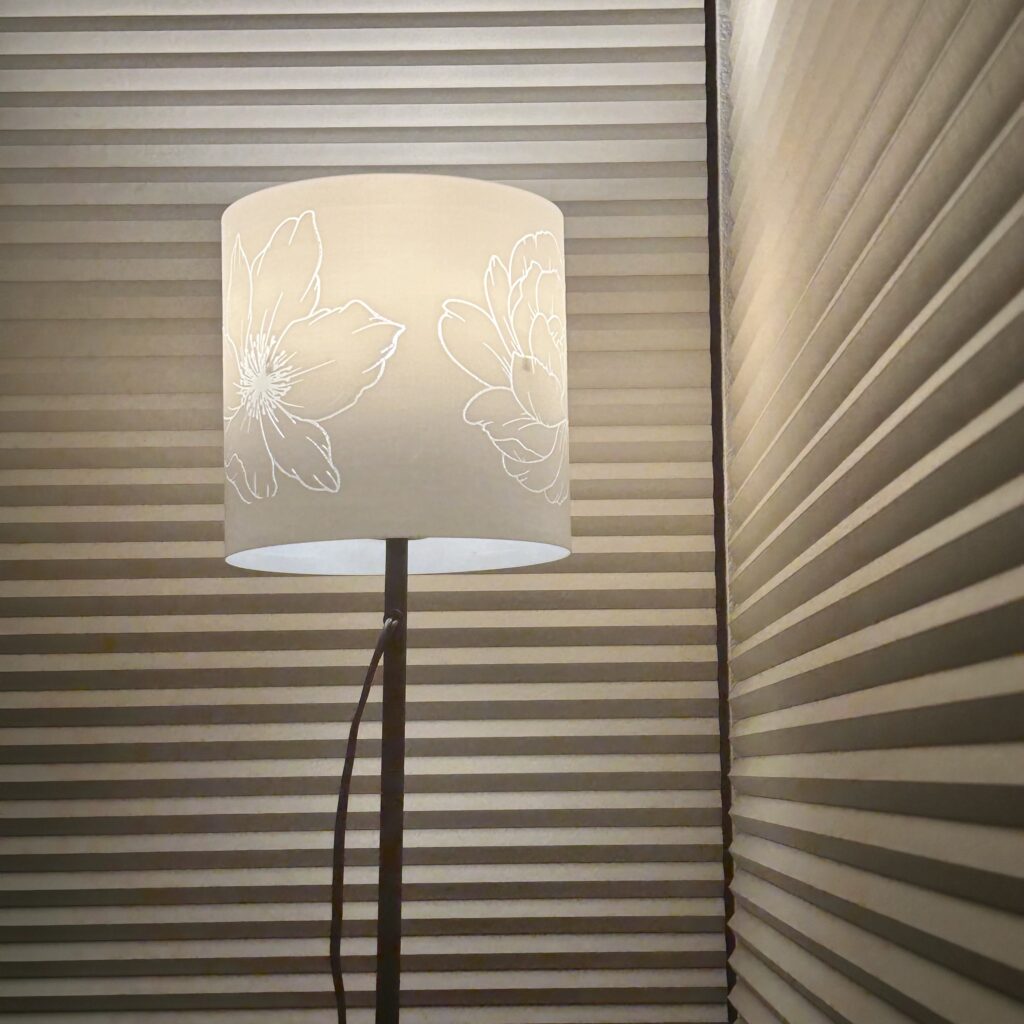
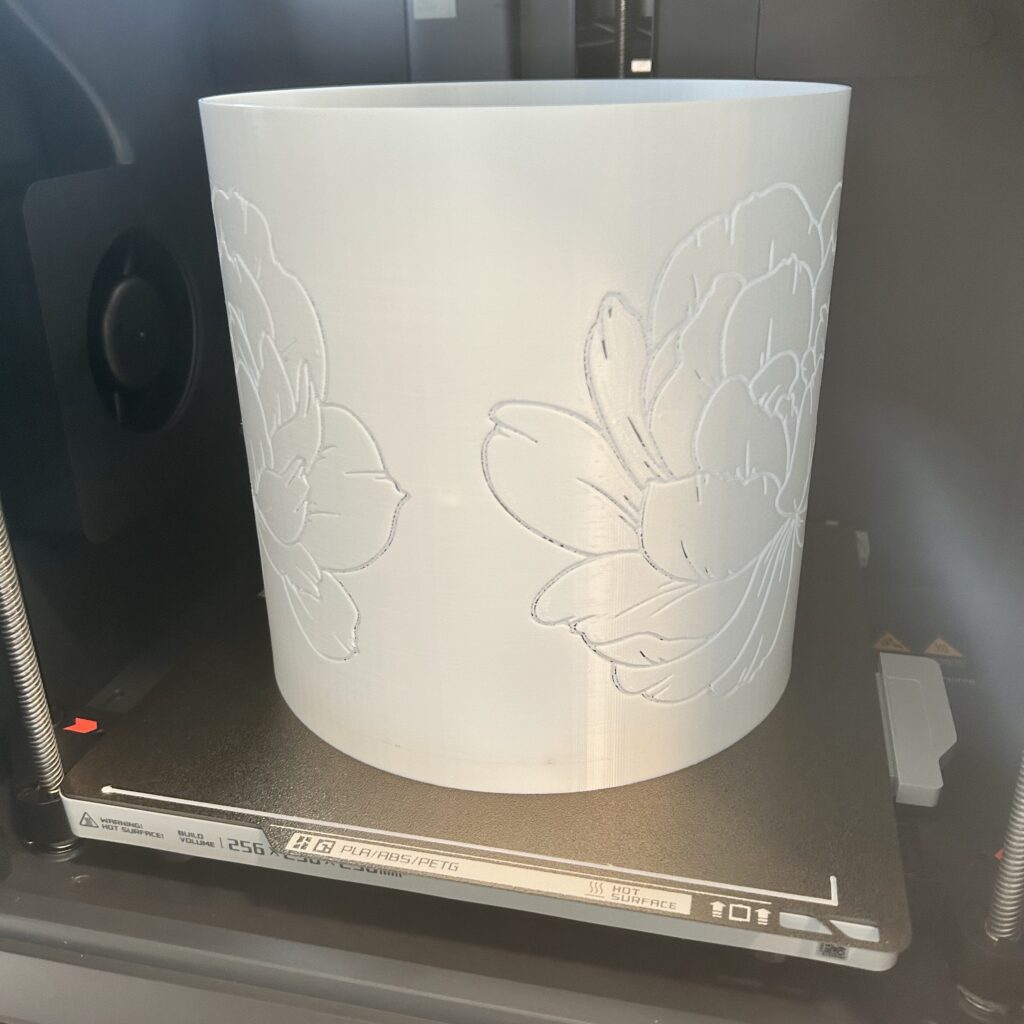
And this is the final lampshade that we made for it!
How we designed the custom lampshade
There are 2 pieces we printed:
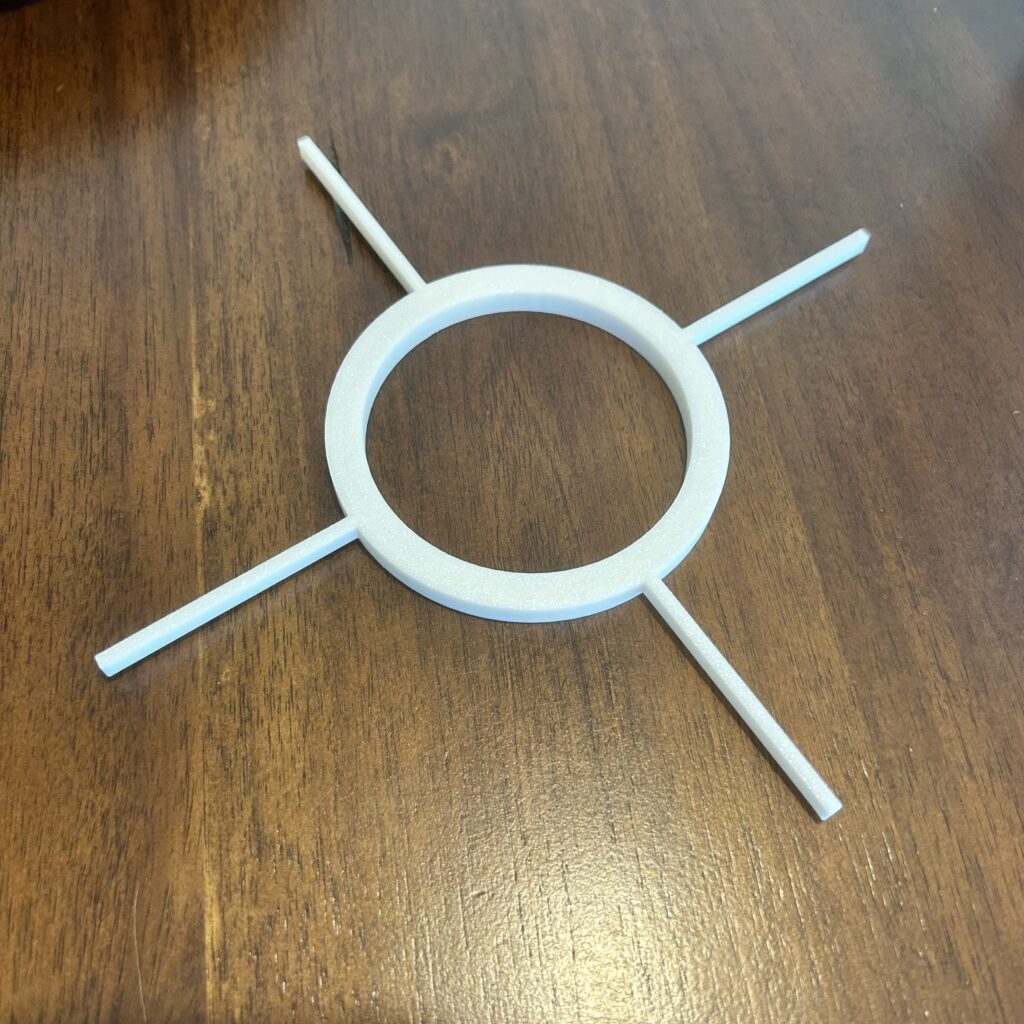
- The adapter (attaches the lampshade to the lamp base).
The adapter has primarily 2 things: something that attaches to the lamp base, and poles that connect the lamp base with the lampshade.
2. The lampshade
The lampshade has primarily 2 things: the screen, and a place for the poles to connect to.
IMPORTANT: I only deemed it was a good idea because the bulb does not get hot (the bulb is LED). I used PLA+ and so far the new lampshade never got hot.
The rest of the articles describes my approaches / high-level write-up, but it wouldn’t cover a detailed breakdown to the finest step. If you’d like to contact us about this to get help, shoot us an email at info[at]tidymesh.com.
Part 1: The adapter
This part attaches the lampshade to the lamp base. I got a few people who asked how to design this part. To know how to do this, I needed to get shape and measurements of the lamp base. I think this part was the most important part because it’s very specific to each lamp manufacturer and model, but I can share you what I did.
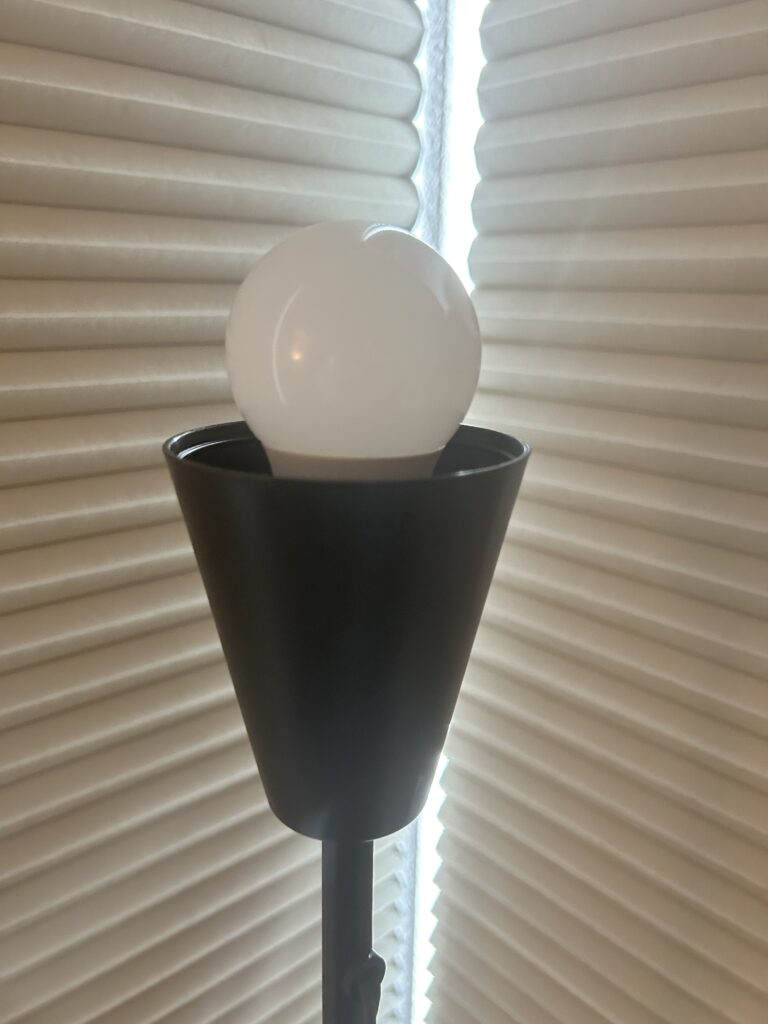
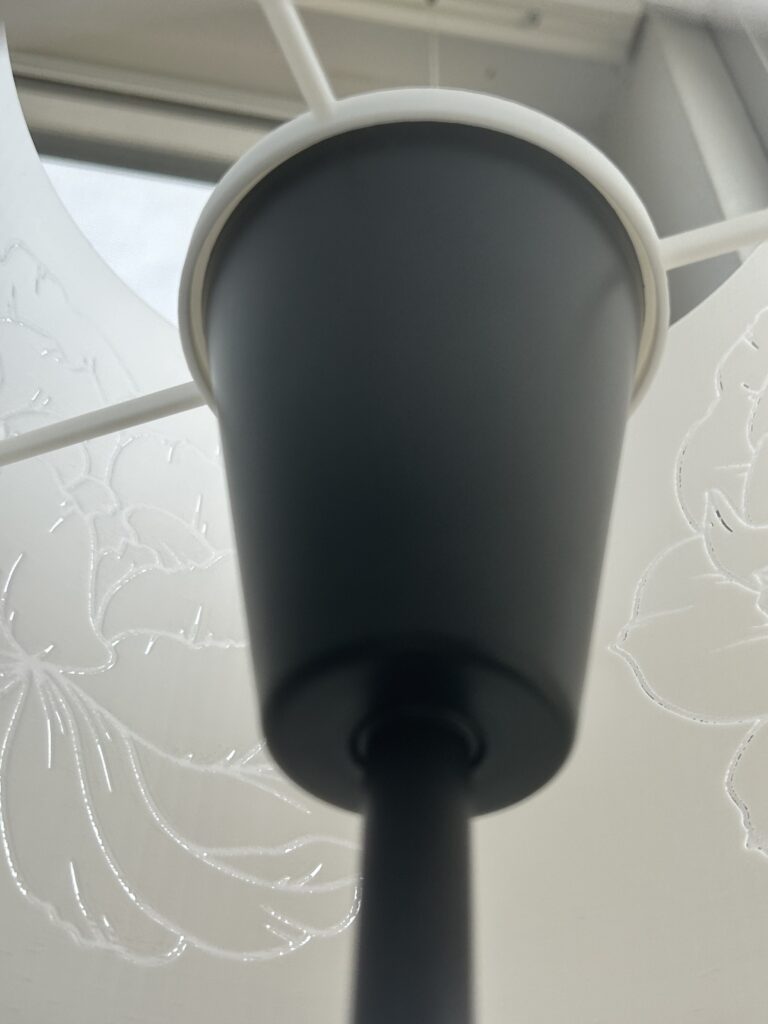
After removing the standard-issue lampshade, I found that the base of the lamp is a conical shape (the first picture above). So our adapter would be a circular ring, with a gutter where the top of the conical part will go (the third picture above). This way nothing will be resting on the bulb, just like the original lampshade.
I decided that I wanted to use 4 rectangular poles sticking out, which will be connected to the lampshade (the second picture above).
To design this I needed the dimensions of:
- The inner diameter of the top part of the conical part. I gave it some tolerance so it’s not too tight since the base is not a cylinder (tapers / narrows down at the bottom).
- The outer diameter of the top part of the conical part.
- How deep I wanted the circular gutter to be. I used 4 mm, which seemed to be enough.
- An idea of the diameter I’d like the lampshade to be, to find out how long those 4 poles should stick out. I decided on a 200 mm (slightly less than 8″) diameter, and 200 mm height lampshade to cover the base completely.
For measurements, I used a caliper. You can use a standard ruler if you have great eyes.
Part 2: The lampshade
This is the most fun part because then I got to decide what I want on the lampshade.
2a. Make 2 rectangles for the screen
The lampshade screen is cylindrical, so why did I make rectangles? Because we’ll bend the rectangle 360 degrees to form a circle.
But before bending, we’ll subtract images from one of the rectangles.
Because I want to make a 200mm screen that has 200mm height, the dimensions of the rectangles are:
- Height: 200mm
- Length: 3.14 (or pi) x 200mm (from the intended screeen diameter) = 628mm
We have 2 rectangles:
- Rectangle A: 0.4mm thin (1 3D-printed wall)
- Rectangle B: 0.8mm thin (2 3D-printed walls)
We used these numbers because to let light through, we shouldn’t have too thick of a wall, and we use 0.4mm extruder nozzle.
The images I chose (flowers). After getting svg images I wanted, I imported them to my design software. Then, take the images’ shapes off from Rectangle B.
After that was done, I lined up Rectangle A exactly behind Rectangle B and fused them together. After they were fused together, I bent it 360 degrees to make it a cylinder.
2b. Notches on the lampshade that will rest on the 4 poles
So I designed the screen, and I designed the adapter. I still needed to connect the adapter to the lampshade. I made 4 thin notches, about 1mm thick on the inside of the screen that will line up exactly with the poles, so that the top of the poles will nestle in the screen notches. A housing of those poles, somewhat.
Post-printing
The 2 pieces were printed support-free.
The lampshade was printed.

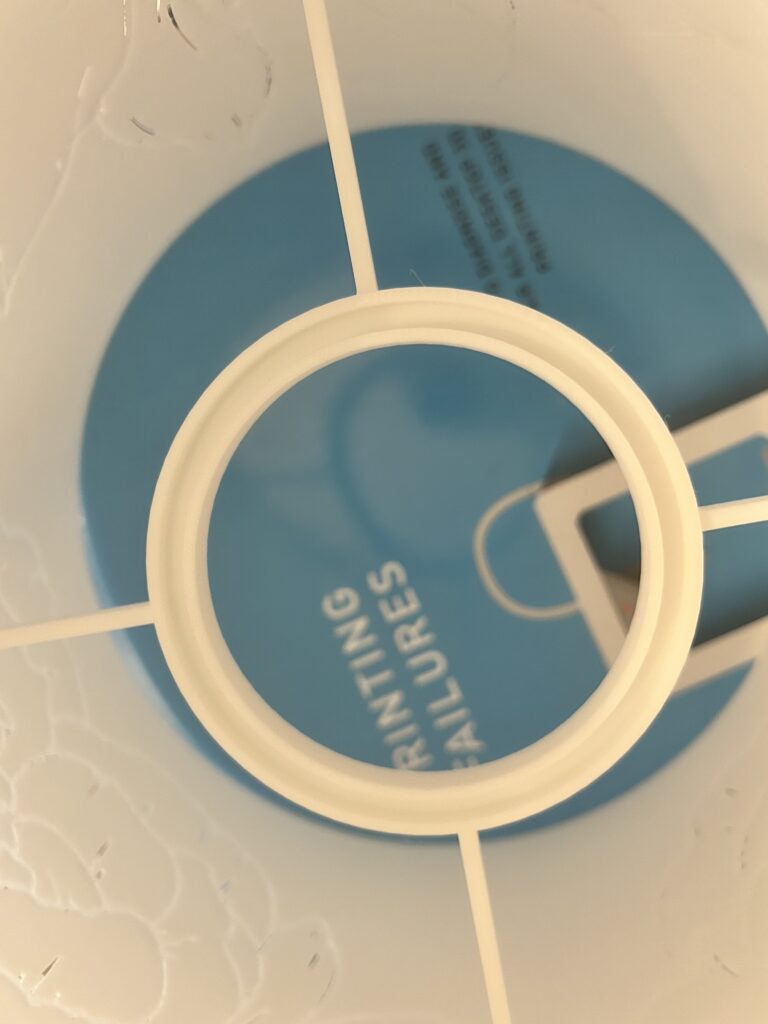
And then the adapter was printed. Below is top-view picture of the adapter. The gutter is in the bottom of the circular ring.
To help secure the poles into the notches, I used glue, but if your design is more complicated and clever, perhaps you wouldn’t need one.
And then that was it! A new lampshade for the new-to-me lamp. I turned the LED bulb on for a while and checked, the bulb never gets warm, so this is a safe situation I can be OK with.