
Inspiration
This project was inspired by a lot of exciting things: aquariums, mermaids, mason jars, and indoor plants.


Mason Jar Specification
- Uses wide mouth lid
- Has at least 2.6″ clearance on the opening to slide the tail through
- Has at least 6″ of depth from the the jar opening to the bottom
- We have used a 32 oz jar.
Our iterations
This is a quick walkthrough of our project.
Version 1
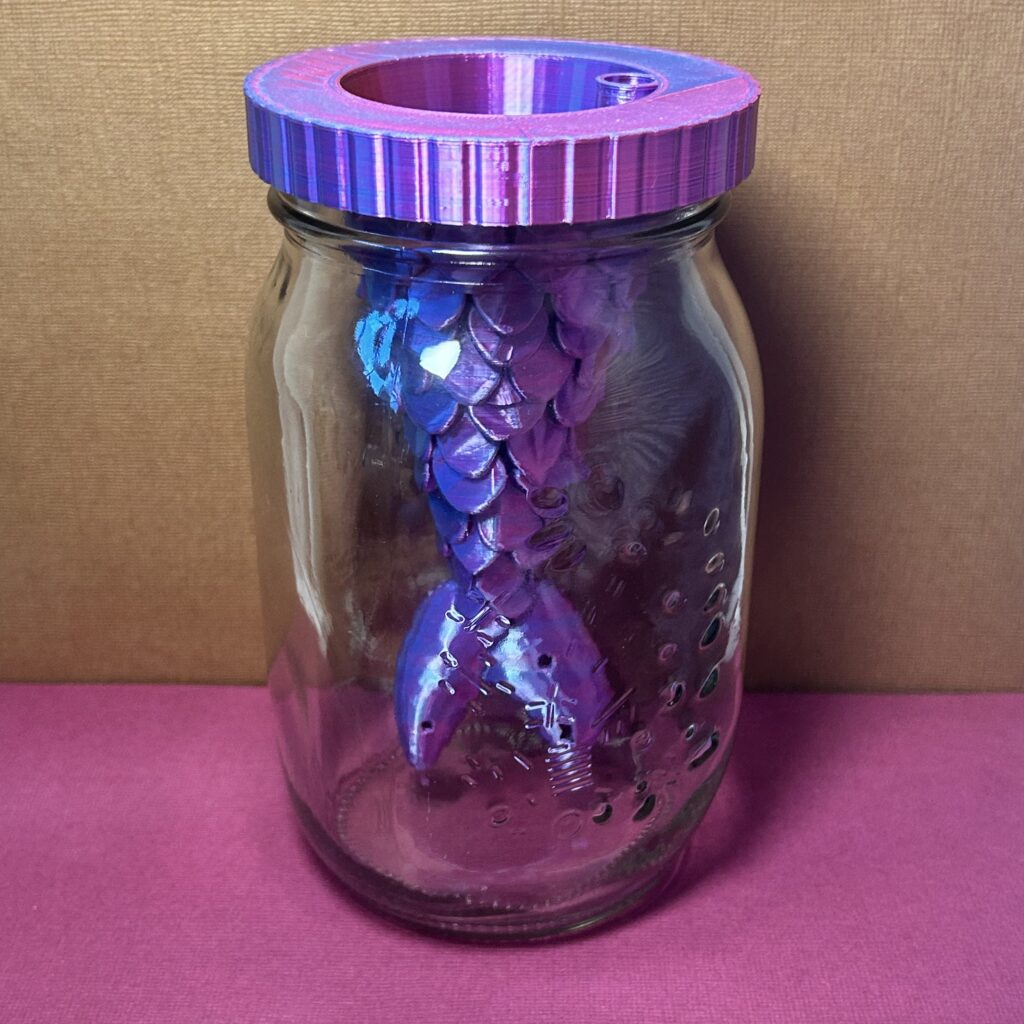
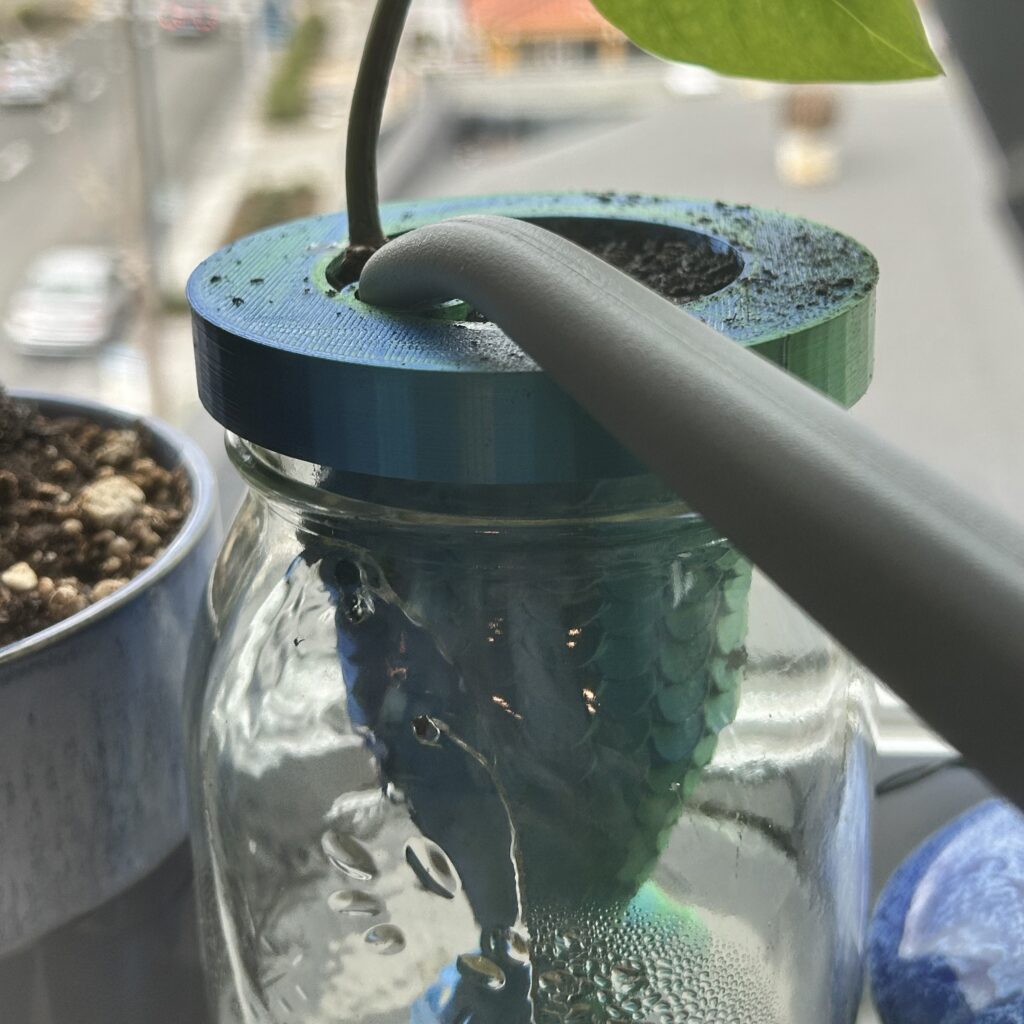
This version features a mermaid tail that fits in wide-mouth mason jars. We considered in the design a water channel that allows refilling the water without needing to open the mason jar threading. We find that while it works just fine, we want more space for the soil and the plant itself.

Version 2
- More space for the plant root and soil,
- Easier soil packing allowing continuous soil from top to bottom, important for self-watering feature even when water level is low.
- Bigger area for the water channel so that water refilling is easier.
- Still fits well in wide-mouth mason jars.
Filaments we tried
We also include the filaments we used in the project if you’d like to reproduce our colors.
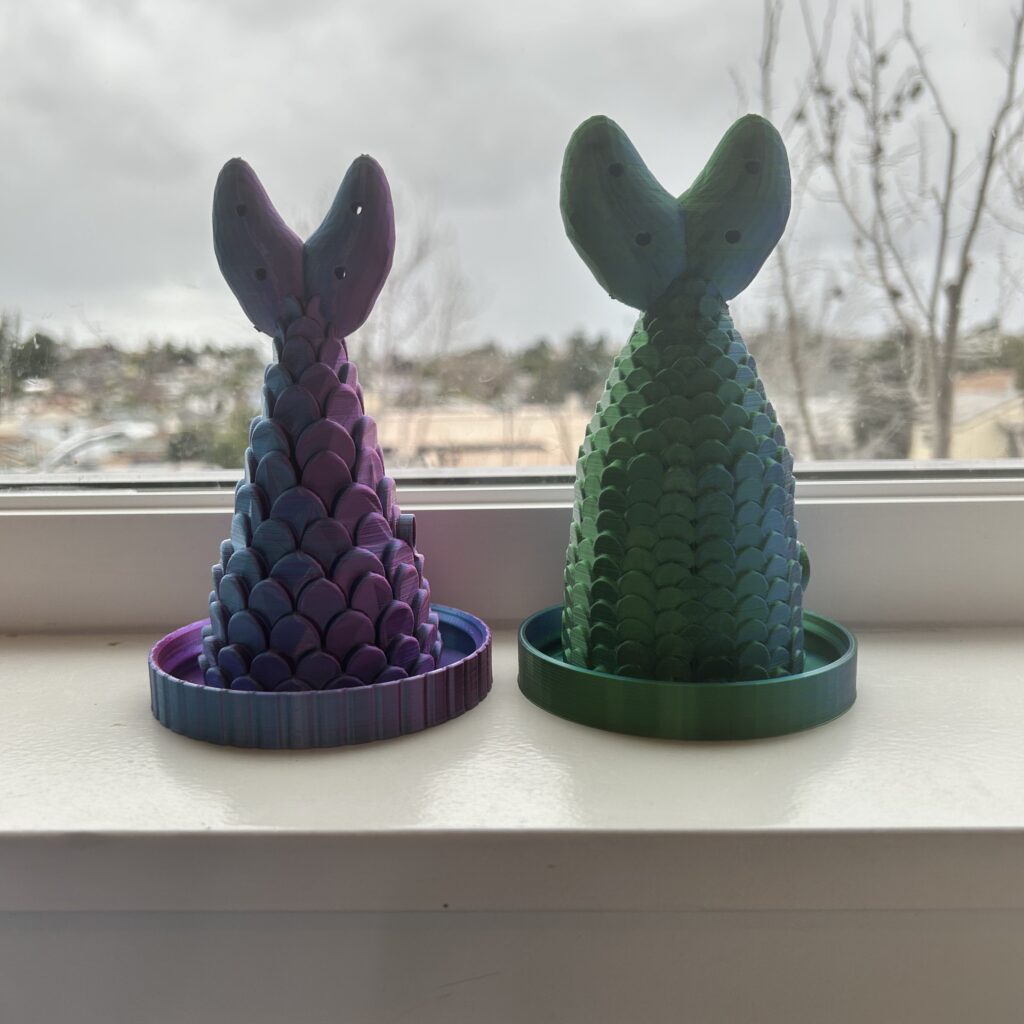
Dark Pink – Blue
Dual color 2-in-1 blue and rose red silk PLA filament, by Comgrow.

Blue – Green
Dual color 2-in-1 blue and green silk PLA filament, by Enisina.

Rainbow
Changing filament 5-color “Iridescence”, silk PLA filament by Enisina.

Red – Blue – Yellow
Tri color 3-in-1 red – blue -yellow silk PLA filament, by Comgrow.
How to?
Instructions
How to plant
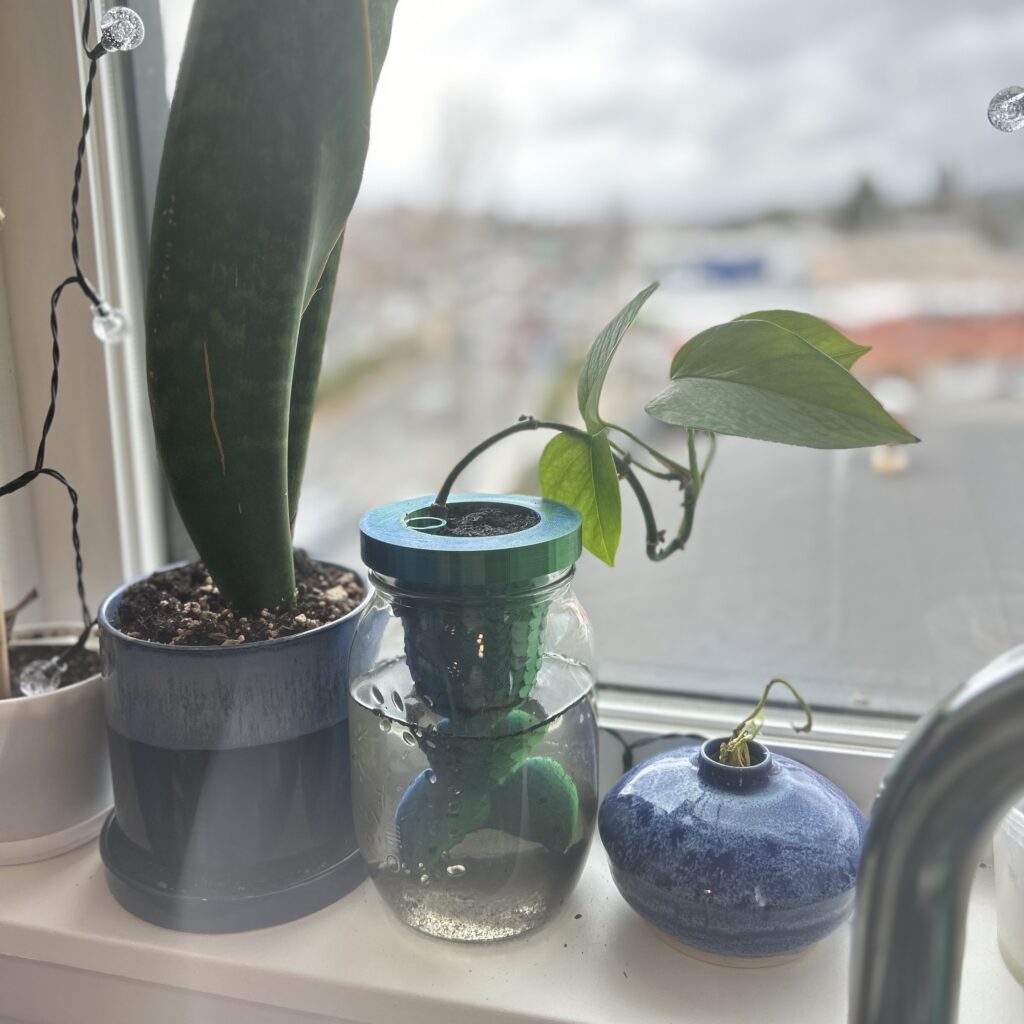
Our size constraint is the mason jar, therefore the plant cannot be too large. Best to house a slow growing plant, or a baby plant that will be moved as it grows.
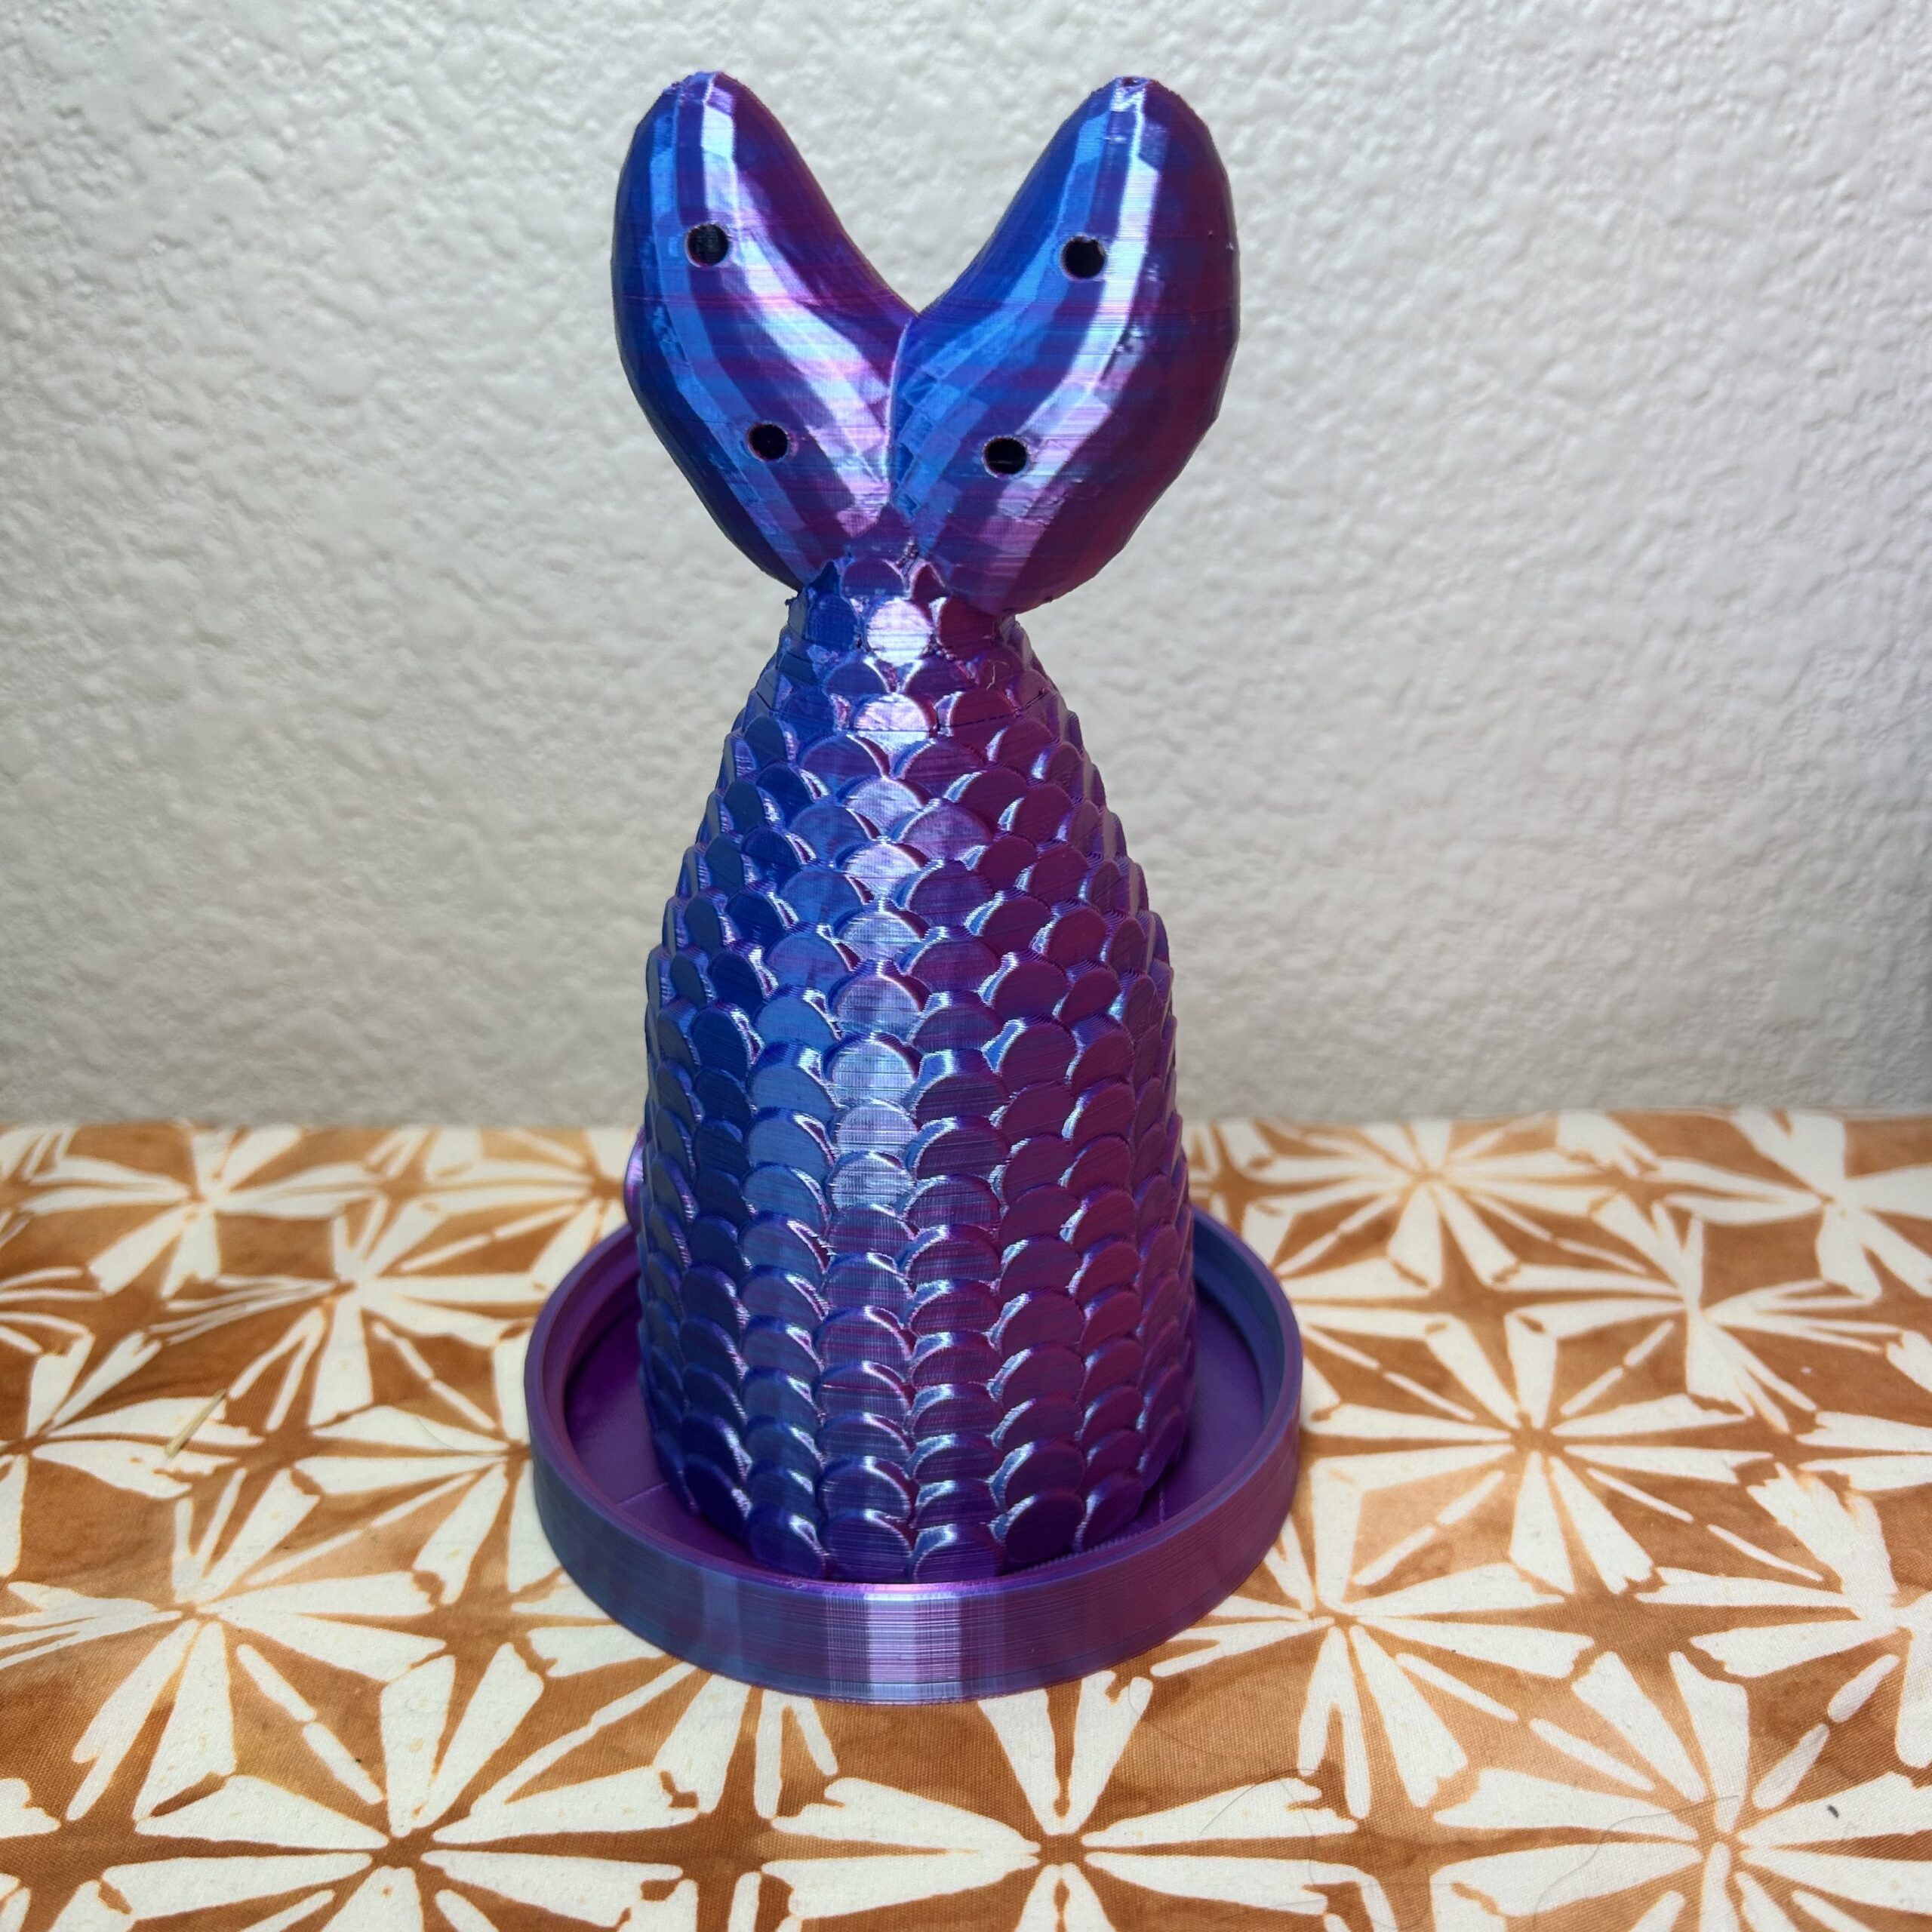
When packing the soil in the tail, make sure you have soil all the way down at the tip of the fins, all the way to the top of the tail. We want continuous soil so that water capillary action can happen, allowing the self-watering feature to happen even when the water level is low. You can see whether this is the case by looking at the holes on the fins. If you can see through the holes, than the soil is not continuous.
After you’re done assembling, water the soil once so that the soil is wet, setting up the capillary action.
How to water
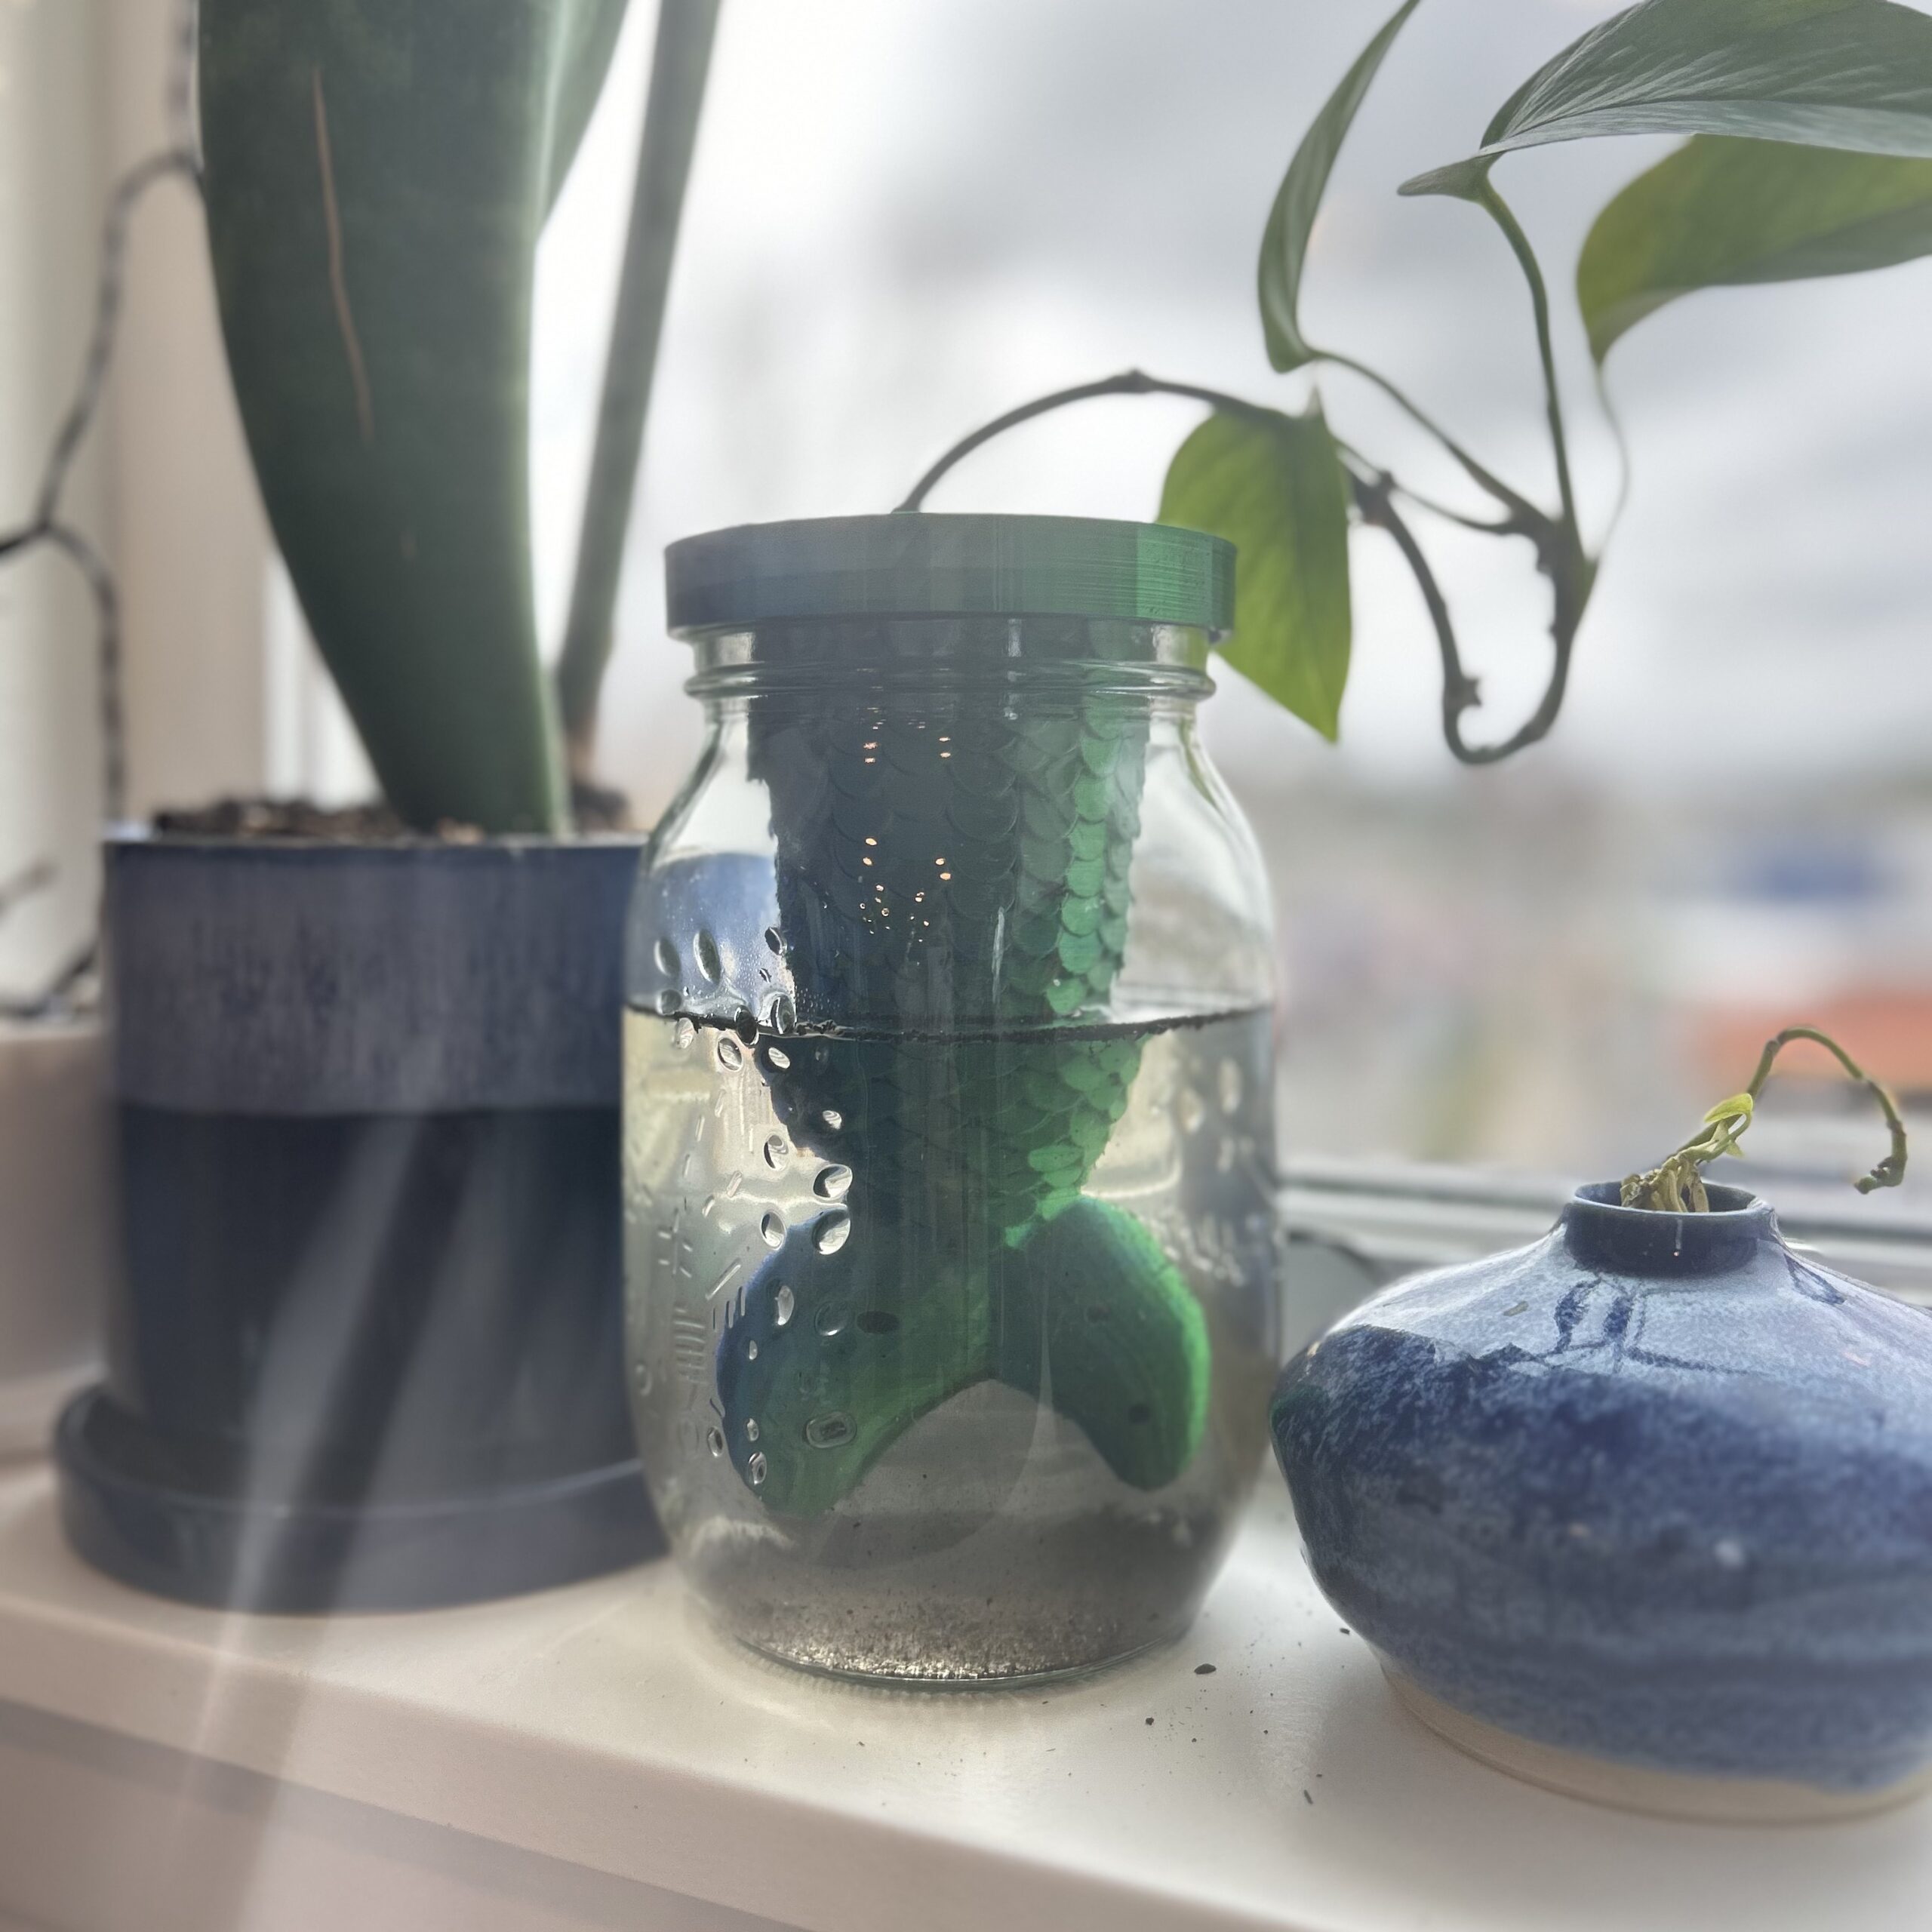
After the planter is set up, you need to make sure water level is above the highest holes on the fins.
If the soil looks very dry, once in a while you can water the soil.
Recommended 3D printing settings
(This project was done with an FDM printer)
- Print mason jar side on the bed (flat part), fins on the top
- Print slow on the wall and externally visible walls (30 mm/s is what we used)
- Have supports on the outlet of the water channel, and the fins.
- Print with a smaller layer height (0.14 mm is what we used).
- Have distance between support and the model to be approx 2x the layer height (0.3 mm is what we used) for easier support removal.
- 3 walls on 0.4mm nozzle (1.2 mm wall thickness).
- Lower infill at 10%.
- Use your filaments recommended temperature settings.
With these settings we used approximately 100 gram of PLA filaments.
Gallery


I Want
To
It!